


If you’ve had enough of your leaky garage roof, don’t live another day with the problem. Fixing it doesn’t have to be too burdensome of a task, and if you correct it before it’s too late, you just might avoid a major roof replacement.
A General Inspection
Before you begin working, take a look at the beams to see what sort of condition they are in. If they are infested with bugs, you’ll have some issues. Hopefully, they’ll be clean of everything but for some dust. Grab a couple ladders and scaffolding planks.
They’ll help you walk along the beam atop the scaffolding to work without constantly going up and down a ladder.
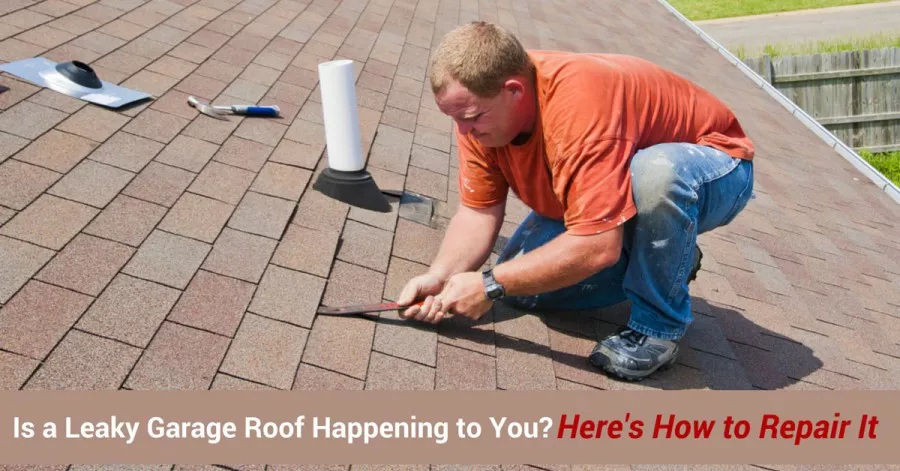
Prepare the Roof Area
Take a look at the leak. Prepare it for the repair job by eliminating any debris, mould and raised sections of the old roofing. Hard materials such as corrugated metal should also be cleaned thoroughly. This way, you’ll have a clean working space to do the job right.
Shop for the Right Timber
Don’t buy a timber length just because the guy at the store says it’ll work for your garage. Measure your beams that are necessary for bolstering and purchase the right lengths in 2 × 6‑inch lumber. The number of lengths that you’ll need are determined by the roof trusses.
The Eaves
Lay the wood out beneath the beams and lift on the eaves. Then insert a 6 inch nail below the beam to keep it in place. Repeat this with the opposite end of the beam. Then screw it into the beam with brass screws. Brass is ideal as it does not rust. Be sure to constantly push the roof up throughout the project. It might be necessary to use an object to push the roof up as the beams are positioned and fastened into place. If you notice a bit of sagging, don’t panic. It’ll be lifted when you complete the repair job.
Apply Fabric Felt and Cement
Use reinforced fabric felt on the repair area. Chop it down to the proper size with a knife. It should cover the damaged space plus an extra few inches on each side. Scoop some roofing cement out of the tin and onto the area that is to be patched. It should be no thicker than a quarter of an inch.
Try to taper it around the perimeter of the impacted area so that it blends in. Press the fabric over the cement so that it is flat. Then lay down a thin layer of the cement onto the top of this fabric and let it dry.
Reinforce the Beams
As you perform the repair, you’ll think about how you really need to do the job right so that sagging doesn’t occur. You can make sure that this is your last leaky garage roof by utilizing timber that is the length of the garage.
Place them beneath each beam for enhanced support. Ideally, you’ll use 4 cross‑timbers. This way, the beams will not sag in the future.
What About Upgrading the Garage Door, Too?
While you’re tending to the roof, you may have noticed that your garage door is affected by a leak, or perhaps needs an upgrade in general. A new door can really help lower your energy bills, while increasing a home’s resale value.
Baker Door Company can help you find the door that best suits your needs, and answer any questions. Browse through our quality residential doors, or try building your dream door online.
Add new comment